How To Replace An Exterior Door?
General Introduction
Does your current exterior door look and feel worn out and damaged? If the answer is yes, then it may be time to replace your old door with a new one! The good news is that you can buy replacement pre-hung doors that are already weather-stripped and framed. This means you will not need prior experience to do the installation successfully. With our expert tips and techniques, you can do a stellar job all by yourself!
List of Tools Required:
- 2-ft. and 4-ft. Levels
- Carpenter’s Pencil
- Caulk gun
- Hammer
- Miter saw
- Nail set
- Pry bar
- Reciprocating saw
- Tape measure
- Utility knife
List of Materials Required:
- 10d finish nails
- 10d galvanized casing nails
- 16d galvanized casing nails
- 3-in. deck screws
- 4d finish nails
- 6d finish nails
- Backer rod
- Minimal expanding foam ( 2 cans)
- Wood Putty
- Caulk
- Roll of flexible self-adhesive flashing membrane
- New door knob/fixture
- Paint (optional)
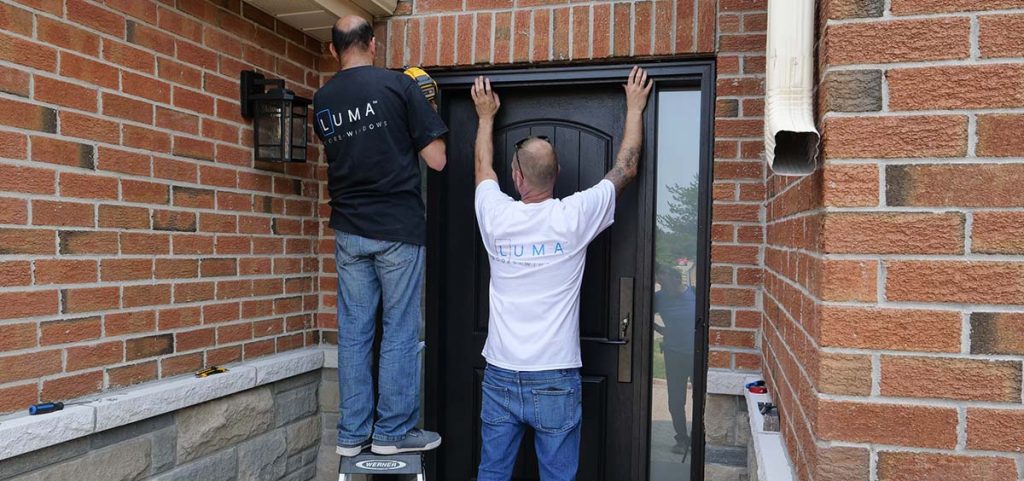
The Pre-Hung Front Door Installation Process
Hanging a new front door may be difficult to complete in less than two days, but it is very doable. Choosing to complete the installation project yourself not only helps you save money but also dramatically improves the appearance of your home and curb appeal. In this article we will cover how to order a pre-hung exterior door that will fit your space perfectly and then we’ll show you how to remove and replace an old exterior door with a new one step by step. If you are familiar with basic carpentry, you will not face much trouble completing this DIY project in a matter of a couple of days.
16 expert DIY tips to help you successfully complete an exterior door installation
 Step 1 – Measure Your Existing Door
There are four sets of measurements needed when ordering a new door.
The Door Size:
- Measure the width and height of your old door.
- Round these up to full inches to find the correct size for the new door.
- For example, if your door measures 32-3/4 in. wide and 76-1/2 in. tall, you’ll order a 33-in. by 77-in. Door.
The Jamb Width: The measurement of the wall thickness that the door unit will be fitting into.
- Measure from the backside of the interior trim to the backside of the exterior trim.
- You will need to specify this jamb width when you order your new pre-hung door.
- This guarantees that the interior trim will fit correctly to the wall.
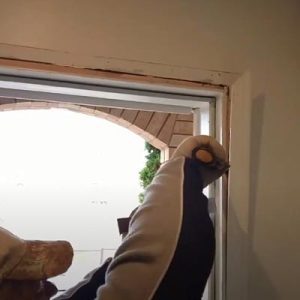
The Rough Opening: This step helps you determine how much space you have to work with.
- You must remove the interior trim (be gentle!) to get the most accurate measurement.
- First measure the opening width between the framing
- Second measure from the top of the opening to the bottom of the sill.
- You need to now cross-check these measurements with the rough opening measurement of the new door to make sure it will fit right.
The Exterior Opening (Also known as masonry opening if your door is surrounded by brick or stone):
- Measure up to the outer exterior casings and note down the dimensions from the top of the trim to the bottom of the sill.
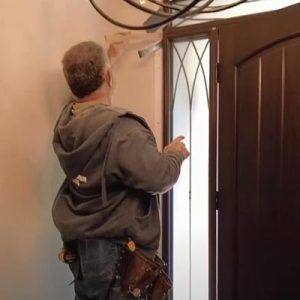
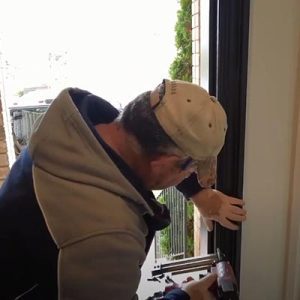
 Step 2 – Remove Your Existing Door
- Hammer the hinge pins loose using your hammer and a flat screwdriver.
- Then lift the door out.
- Please be cautious when removing the door, it will be heavy when lifting it off from the hinge pins.
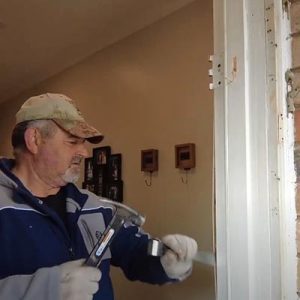
 Step 3 – Loosening & Detaching The Old Trim
- Detach the interior trim loose with a pry bar from the door frame.
- To protect the wall use a wide putty knife.
- Detach the caulk joint between the brick and the exterior trim by slicing it.
- Using the pry bar now remove the trim from the doorjamb.
 Step 4 – Removing The Old Jambs (The lining of the door)
- Using your hand saw you must now completely cut through the side jamb to remove it.
- Use your pry bar to loosen the jamb and pull it out from the opening.
- If you cut through one side of the jamb, it will make it easier to detach and remove the whole frame.
- If you feel that you may want to reuse the old interior moldings, simply remove the nails using pliers so that it will not cause any damage.
 Step 5 – Preparing The Sill For Installation
(The sill is the part of the door that gets sealed and fastened to the floor)
- After you have successfully removed the door frame, check for any wood that is rotten
- Cut out any rotten wood
- If by chance the sill on your new door is slimmer than your previous one, you may need to build up the area with treated lumber and then add shims to level it.
- Using the 2ft level check the sill area. If building up the sill area is required, you can level it up at the same time using shims.
- Make sure when you’re building the sill area to set the height appropriately so that it can easily clear carpeting or rugs when it swings inwards.
- Now using treated lumber, build up the sill area to the correct height and then level the area using shims spaced out about 4 inches apart.
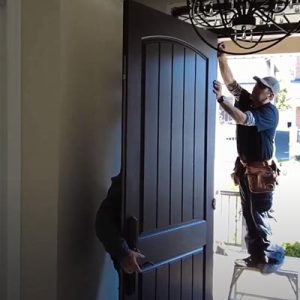
- Now to do a test fit, bring the new door up in the opening. To make sure the door is vertical, hold a level against the jamb hinge and adjust accordingly.
- Check how the sill fits against the casing.
- Trim or cut back siding accordingly if needed.
- Once the correct fit is determined and the door is fully leveled, secure it with coated deck screws.
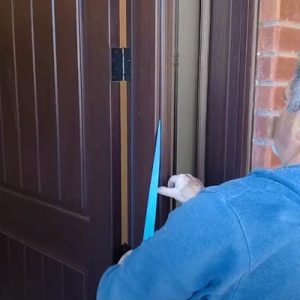 Step 6 – Preparing To Put In The Flashing Tape
- Flashing tapes are crucial in protecting the sill from water damage.
- Cover the whole surface area of the rough sill with the self-adhesive flashing tape.
- Make sure to wrap up all the sides of the opening including over the front edge.
- Vertically set the door in the opening and check the fit.
*Pro-tip: If the wall you’re installing the new door in is newly constructed, you can purchase a special plastic sill flashing kit. A flashing kit adds weatherproofing back into an area.
 Step 7 – Detailing
- The main objective is to repel water away from the wood.
- Attach and secure threshold using the floor adhesive/caulk.
- Once the threshold is in place, drill and secure with 10d casing nails.
- Fill hole with wood putty if needed.
- The old sill is usually nailed under the jambs. You will need to break it down to small pieces before removing it. Cut one large section and then using the pry bar, chisel out smaller sections.
- To test the fit of the new sill, lightly hammer it in and then apply flooring adhesive/caulk and finish installing the new sill with 12d casing nails.
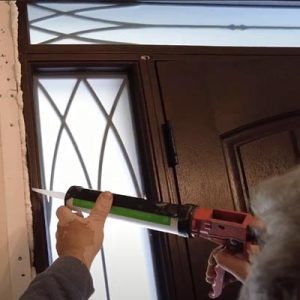
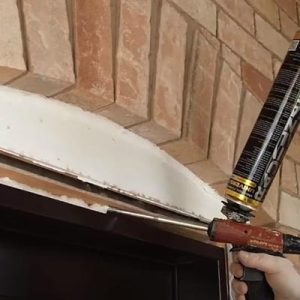
Step 8 – Applying Caulk
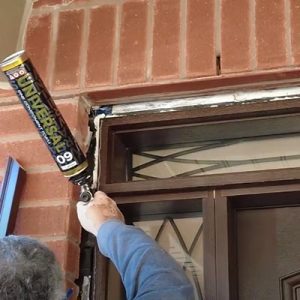
(Caulk is a type of adhesive sealant that protects against water, temperature and weather)
- When you are completely satisfied with how the door will fit, apply caulk along the sill and behind the casing and gently tip the door into the opening.
- Apply caulk along the sides and top of the door and at the sill, you may read the instructions provided on the caulk tube for further guidance.
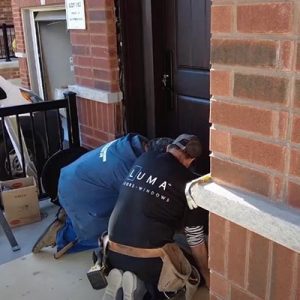
 Step 9 – Fasten The New Door In
- Make sure to level the doorsill properly.
- To fasten the door into place, you must center the top of the door in the opening. Once it is centered you can secure it in with galvanized casing nails.
- Secure the bottom corners of the hinge-side of the jamb as well.
 Step 10 – Shimming The Hinge-Side Of The Jamb + The Latch-Side Of The Jamb
(A shim helps level door frames, provides nail support and reduces wear and tear caused by friction)
- You must shim behind each hinge
- Start with smaller pieces to cover a large space
- Make sure the hinge-side jamb remains vertical
- The main objective is to center the door at the opening and add the shims to the sides until it’s straight and vertical.
- Put shims at the bottom, middle and top of the latch-side jamb until the gap between the jamb and the door is consistent.
- If needed you can use the utility knife to break off excess shim bits
- When you are completely satisfied with the fit, you can proceed to nail the shimmed locations to the frame.
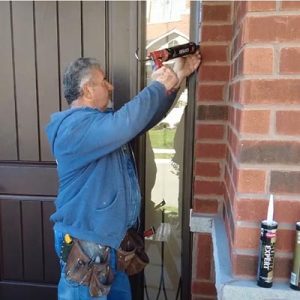
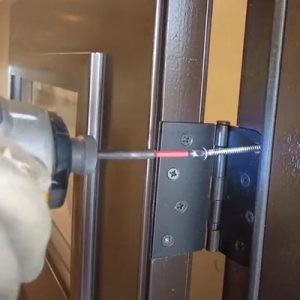 Step 11 – Replacing The Hinge Screws
- Using the 3 inch screwdriver you can replace the old hinge screws.
- Add additional casing nails 16 inches apart along the top and sides of the exterior trim to secure it in.
 Step 12 – The Drip Cap
- The drip cap is an essential waterproofing component.
- Install a drip cap if needed, before you set the door frame.
- Put the drip cap on top of the exterior casing, center it when you put it on the frame
- Now apply a layer of caulk to secure the drip cap. This is crucial as it will prevent water from seeping in between the cap and door frame.
- Finally screw the drip cap into place with galvanized screws.
- You can choose to apply paint over the drip cap screws if you want it to blend in.
 Step 13 – Creating Insulation Around The Door
- Using the minimal expanding foam insulation, fill all the spaces properly between the door jamb and the frame. You will need about 2-3 cans to complete the job.
- Once the foam has expanded and settled in, stuff any remaining spaces with fiberglass insulation strips.
 Step 14 – Installing The Interior Casing
- If you are choosing to reinstall your old interior casing, go ahead and just reinstall it with caulk and nail it tight.
- If you are installing a new interior trim, start by measuring the width of the opening first (measure the width of the top of the door opening), calculate the vertical and horizontal trim mouldings.
- It is easier to start working from the upper trim as this helps you achieve perfect fit and proper edges.
- The upper end of a door has an approximate angle of 45 degrees on both ends.
- Now using the miter saw, trim edges of the casing to 45 degree angles.
- Place the cut piece of casing above the door and one you have leveled it correctly, nail it into the door jamb.
- Next cut the side moulding and once you test and see that it is the correct size. Attach the side pieces by nailing them at 12 inch increments.
- Beveled transitions can be used to cover up gaps in case you think you need it.
 Step 15 – Sealing With Caulk
- With the foam backer rod, press into the trim/sider gap.
- Fill the gap in between the siding and the door trim with caulk.
- It is a good idea to put in an extra trim board under the sill for outer edge support.
- For any gap that might be wider than 3/16inches in addition to caulk, add foam backer as well.

Step 16 – Paint Or Stain Your New Door
- Pre-hung exterior doors usually come in a variety of colours and styles but if you choose to paint it yourself, make sure you clean up all edges and fill in any holes and gaps there may be.
Thank you for stopping by and reading our blog! We hope this was helpful and provided guidance on how you can replace an exterior door yourself. If you feel like you need some more clarification on any of the steps above or need help installing or replacing your exterior door, give us a call and we would be happy to assist you!